5 easy to follow steps when designing for print « Back to list
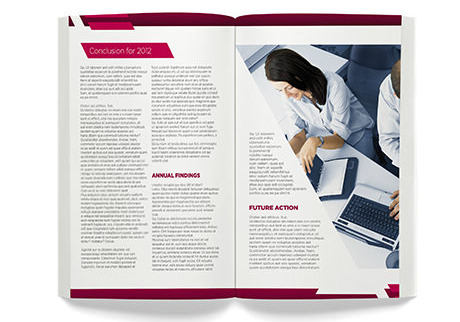
We are often asked by customers about the best way to start designing artwork for print and also what is the best format to save artwork in. For many customers, the design process of a brochure, leaflet, flyer or even a business card is something alien to them and it can at times be a little daunting. As a business owner, you want anything you do to look good and really enhance your brand and paint a good picture of your business. For many businesses, when it comes to designing printed marketing materials, this simply isn’t the case and we have all come across examples in the past where we maybe received a flyer that just looked like a rush job. For most people this isn’t the case and it is simply a lack of knowledge and understanding of how you create artwork for print.
A guide to designing for print.
To help you out when it comes to designing your next printed piece of marketing material, we have come up with these five easy to remember steps. These steps are easy to remember – just think of the two I’s and 3 P’s (IIPPP).
1. Idea generation:
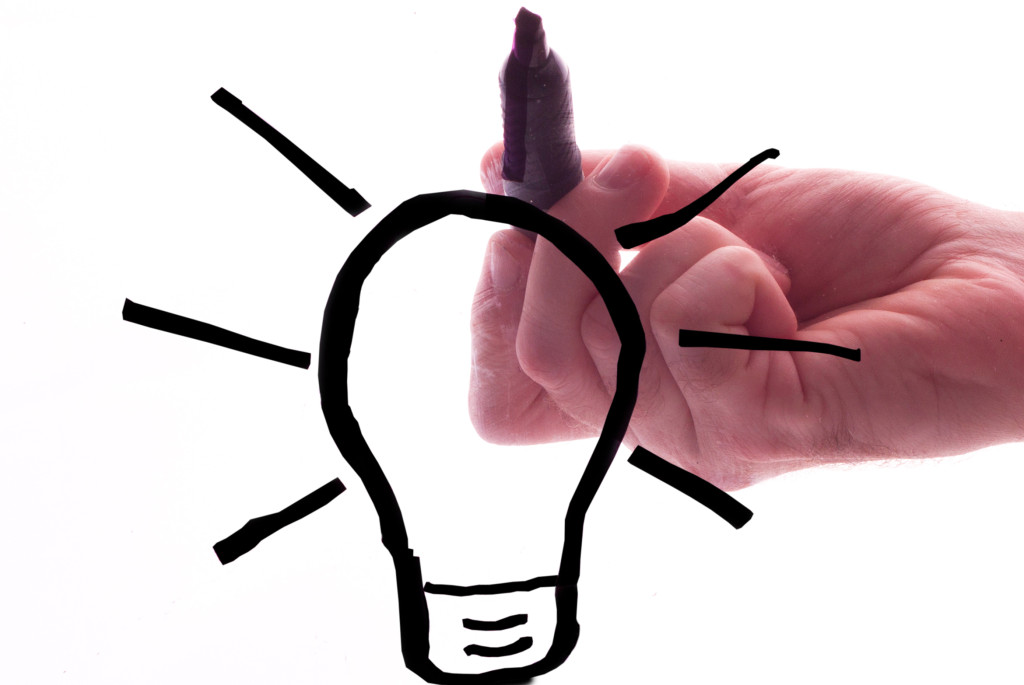
The first stage of any design process is the idea stage. This is where you sit down and discuss what you want to achieve and how you will go about achieving this. At this stage you will already know the medium you are using for a promotion – perhaps it’s a billboard, poster, flyer or even a collection of stickers. When starting your design process it is important to understand what it is you are hoping to achieve with your printed marketing material. This will then influence your idea generation session, so sit down, brainstorm and discuss ideas.
 (Image source: Stockvault)
2. Insert content:
Once you have finished your initial brainstorming session and you have got your key message or ‘ideas’ finalised, it’s time to start creating your artwork. This will mean the gathering of content for your design. This may be product images or graphics, your logo and brand colours or a series or text or headings that will be used to promote your offering. Being organised in deciding what will be used in your design and getting the information and graphics needed, will save you time in the long run.
3. Professional design:
The next step we recommend is to ensure you have a professional design. A clean, professional look and finish to your artwork will say a lot about your brand. For many large companies this won’t be a problem as they may have an in-house designer or work with a graphic design agency. For SME’s this can be a bit more of a problem as they may lack these specialist workers within the company. If you are planning a large promotional campaign or some regular print activity, it may be worth considering investing in getting help from a graphic designer who can help give your artwork that extra lift. For smaller companies who use direct mail and flyers as a big part of your marketing strategy, consider investing in the help of a designer who can create a number of templates that you can replicate and change in the future. A professional finish can say a lot about your brand and your offering and is something we strongly recommend.
4. Proofread:
After you have finished the design process and sought the help of a graphic designer to add that professional finish, it is important to make sure you give any artwork a proofread over. Carefully check the artwork, looking out for any spelling and grammar mistakes or any issues with prices, dates, names, etc. Get more than one person to proofread the artwork and perhaps give it to some friends or family you can trust and ask them to check it to make sure it makes sense and the key message is clear. Again, if you wish, you can acquire the assistance of professional copywriters to make sure your final piece is perfect. We would recommend getting professional help if you are designing a large brochure or document that may have a lot of key information.
5. Print ready format:
Last up on our list is to remember to save your artwork in a print ready format to make it easy for your printer to open it and print. If you are working with a graphic designer they will be able to do this for you but if not, here are 4 important things to remember.
1. Ensure your artwork is saved in CMYK format ready for print.
2. Ensure all images are saved as 300dpi. DPI stands for dots per inch and will reflect in the quality of images in your artwork. Low resolution images may result in pixilation, taking away from the quality of the image and impacting on your final artwork.
3. Remember to include a border and bleed area in your final design as this will account for any movement during the printing process. A bleed area of 3mm and border area of 5mm is recommended.
4. Save your artwork in a print ready format like a PDF. For multiple page brochures, it’s important to ensure you have your pages saved in PDF in their running format as this is how they will be printed.

For more information on getting your final artwork ready for print, be sure to check out our designing for digital print page. For more advice on preparing your artwork and designing for print, contact our expert team today.
You can also stay connected with us and keep up to date with all the latest news here at Digital Printing by following us on Facebook, Twitter and Google+.


